Last time we managed to get everything we need to push messages to a user by having them install our app in Teams, but to make this really seamless it would be better to push the app out to users automatically.
The way to do this is using a (currently in-preview) feature of Microsoft Graph.
I haven’t used Microsoft Graph before, so I’m going to take this from the start.
Authentication
To use Microsoft Graph I need to be authenticated. It uses Azure Active Directory (AAD), and this gives me two main options. I can either authenticate as:
- a user
- an application
I want the process of pushing out my app to be entirely automatic, so authenticating as an application is the natural choice.
Handily, the bot resource is also an application in AAD, and has an associated client ID and secret. I already used them when I added my bot to the Teams app earlier.
Permissions
At the moment though, the bot application doesn’t have permissions to install apps for users. A quick look at the documentation shows that I need to give it the User.ReadWrite.All permission.
In the Azure Portal I went to Azure Active Directory, then the “App registrations” tab. I selected my bot from the list, then the “API permissions” tab.
This currently shows an empty list, so click the “Add a permission” button and I’m presented with a list of things I can give this app permission to do:
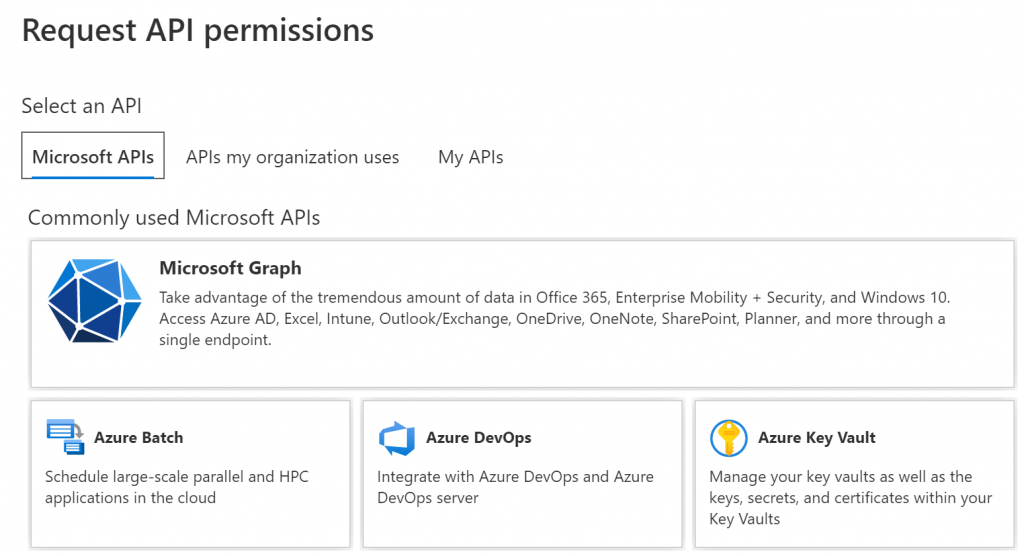
Select the top “Microsoft Graph” option and I’m asked a further question – do I want to give the app “Delegated permissions” (so it can do the operation on behalf of another signed-in user) or “Application permissions” (so it can run without a signed-in user). I want this to run entirely unattended, so I picked “Application permissions”.
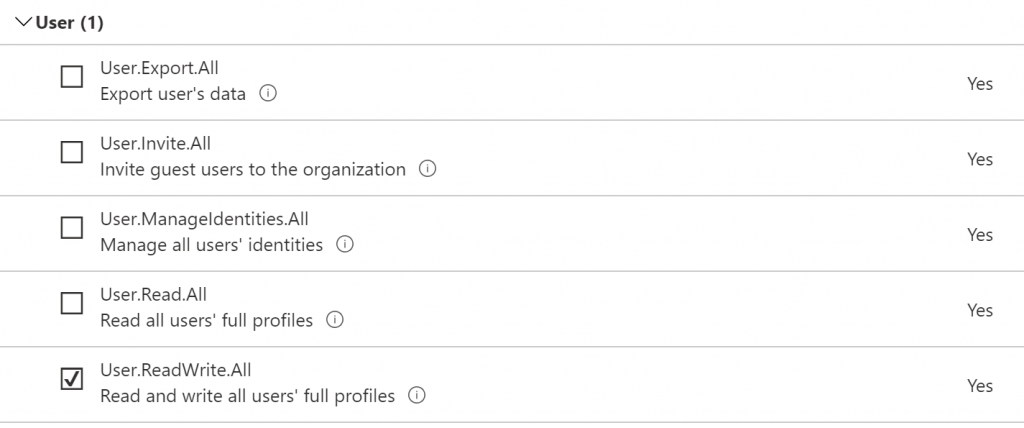
This gives me a huge list of all the different permissions that are available in Microsoft Graph. Luckily I only need to grant one, so scroll down to User and select the User.ReadWrite.All one we identified earlier.
All this has told Azure that the application needs this permission, but hasn’t actually given it to it yet.
Back on the list of permissions that have been added to the application there is also a “Grant admin consent for <company>” button. Click this and the application now has the permissions it needs.
Installing the app
We’re now ready to write our custom app to install the Teams app for all our users. This is largely taken from the sample app that the documentation points to, so I’m not going to list out all the code here.
Authenticating
This differs from the sample app as that uses the logged in user permissions instead of an application.
public async Task<string> GetApplicationTokenAsync()
{
    var cca = ConfidentialClientApplicationBuilder.Create(appId)
        .WithTenantId(tenantId)
        .WithRedirectUri(redirectUri)
        .WithClientSecret(appSecret)
        .Build();

    var result = await cca.AcquireTokenForClient(new [] { "https://graph.microsoft.com/.default" }).ExecuteAsync();
    return result.AccessToken;
}
The main bits here that weren’t immediately obvious to me when trying to adapt the sample code to use an application user:
- The ID of the AAD tenant I was authenticating against needed to be specified. This is presumably because an application can be multi-tenant while a user can only authenticate against their own tenant.
- Instead of specifying the individual permissions I want in the call to
AcquireTokenForClient, an application user should specify the constant stringhttps://graph.microsoft.com/.defaultto indicate that all the permissions we added to the application earlier should be included in the token
With those hiccups out of the way I’ve now got an access token I can use for calling Microsoft Graph.
Listing Users
The sample app shows getting a list of users and iterating over them to find the ones to install the Teams app for. However, it misses out that the API returns users in pages, similar to RetrieveMultiple in D365, so we need to handle moving on to the next page until we reach the end:
var users = await graph.Users.Request().Select("id,displayName").GetAsync();

while (users != null)
{
    foreach (var user in users)
    {
        // Check if the app is already installed for this user
        var installs = await HttpGetList<TeamsAppInstallation>(
            $"/users/{user.Id}/teamwork/installedApps?$expand=teamsAppDefinition&$filter=teamsAppDefinition/teamsAppId eq '{appId}'",
            endpoint: graphBetaEndpoint);

        if (installs.Length > 0)
            continue;

        // App is not already installed, so install it now
        await HttpPost($"/users/{user.Id}/teamwork/installedApps",
            new TeamsAppInstallation()
            {
                AdditionalData = new Dictionary<string, object>
                {
                    ["teamsApp@odata.bind"] = $"{graphBetaEndpoint}/appCatalogs/teamsApps/{appId}"
                }
            },
            endpoint: graphBetaEndpoint);
    }

    // Finished processing all the users in this page, move on to the next page
    if (users.NextPageRequest != null)
        users = await users.NextPageRequest.GetAsync();
    else
        users = null;
}
Installing the correct app
The last bit that stung me was getting the correct appId to use with this code. I’ve been working the Web App Bot resource for a while now, so I’m used to using that ID, but that was giving me a 404 error with the message:
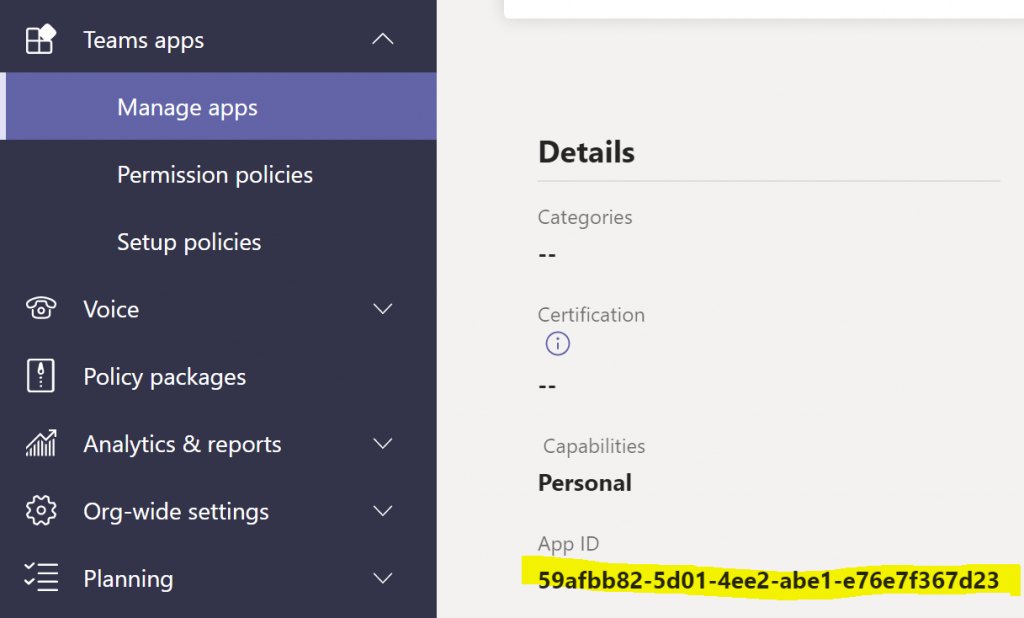
The definition for app '<guid>' was not found in the org-wide catalogFinally it struck me that I’m trying to install the Teams app which includes my bot, not the bot itself. When I created the Teams app in App Studio originally it asked for an ID to use, and I just clicked the “Generate” button to create a random guid. Thankfully I can easily find the correct guid either in App Studio by selecting to edit my existing app, or by selecting it from the list in the Teams admin center
User Notification
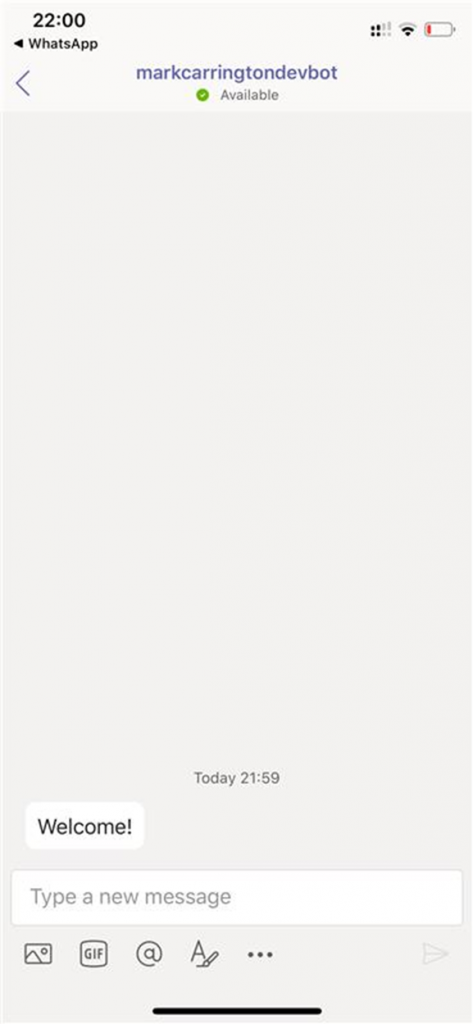
With that sorted my installer runs through and adds the app for each user. That triggers the OnMembersAddedAsync method in my bot, which saves the required IDs to the Azure Table Storage table and sends the welcome message to the user.
The pieces are starting to come together! We’ve now got the app installed so we can start pushing out notifications to anyone who might need them. I think we’re ready to move on to generating useful notifications based on D365 activity! Stay tuned…
Thanks for putting that together Mark – best guide I could find. MS docs are notoriously unhelpful.
On the fron of auto-onboarding the app I find Grap approach quite convoluted (especially if you’re in SAAS business and it’s end users that’d need to do that rather than IT).
Teams administration allows you to create a ‘policy’ for users
‘https://admin.teams.microsoft.com/policies/app-setup’
There’s a section there ‘Installed apps’ – admin can add your bot to that and next time user launches teams it’ll be installed. The good part is your bot will at that point receive OnUserAdded event with all required details (user/tenant/service-url).
There’s a bit of a delay before you add that in and all users are imported – although for our end clients this is much simpler to follow rather than fiddle with graph
Thanks Chris! That’s actually the approach I ended up taking when deploying this app internally and I updated the instructions at https://bot.markcarrington.dev/teamsapp.html